Monday, March 19, 2012

Grilled Chicken w/ Roasted Red Pepper Sauce

I love to cook and I'm always looking for new recipes to try. I found one-- Grilled Chicken w/ Roasted Red Pepper Aioli Sauce-- and I made it for my husband & I. He's so sweet and is always willing to eat whatever I give him, even if it's not very good. The grilled chicken was excellent but I'm not a huge fan of the roasted red pepper sauce. I think it needs to be revised before anyone eats it again. However, I'll go ahead and share the recipe in case you want to try your own version.


---Grilled Chicken w/ Roasted Red Pepper Aioli Sauce---

Ingredients for marinade:

-4 boneless, skinless chicken breasts
-2 Tbls. lemon juice
-1 Tbls. garlic puree (or minced garlic)
-1 tsp. dried poultry seasoning (I used Mrs. Dash Chicken Seasoning)
-4 Tbls. olive oil


Directions for marinade:

-Trim all visible fat from chicken breasts, then cut small slits going down the length of each breast
-Whisk together the lemon juice, garlic, poultry seasoning, and olive oil
-Put chicken in Ziploc bag or container where the chicken can lie in a single layer and absorb as much of the marinade as possible
-Pour marinade over chicken and flip chicken over a few times to dispense the marinade equally. I also massaged the marinade into the small slits into the chicken
-Let chicken marinate in the refrigerator for 6-8 hours, or up to 24 hours if you need to marinate the chicken ahead of time


Beware! This smells so good you'll want to eat it raw. Please refrain!


-When ready to cook, remove chicken from fridge and let it come to room temperature
-Oil the grill with olive oil or non-stick spray
-Heat the grill to medium-high
-Cook chicken 4-5 minutes on each side until it is cooked through, firm, and lightly browned


Ingredients for roasted red pepper aioli sauce:

-1 jar roasted red peppers (12 oz.) or 2 freshly roasted red peppers (about 1 cup diced roasted red peppers)
-1 Tbls. garlic puree or minced garlic
-1/2 cup mayo
-3 Tbls. extra-virgin olive oil
-salt and pepper to taste


Directions for roasted red pepper aioli sauce:

-If you're using a jar of red peppers, put peppers into a colander placed in the sink and let drain for a few minutes, then use a double layer of paper towels to blot both sides of the peppers, drying them off as much as you can, coarsely chop peppers
-Put chopped peppers and garlic into the food processor and process about 20-30 seconds until peppers and garlic are finely pureed
-Add mayo and pulse about 8-10 times, or until mayo is well mixed with the peppers
-Add the olive oil one Tbls. at a time, blending for a few seconds after each Tbls. of oil.
-Season with salt and pepper to taste

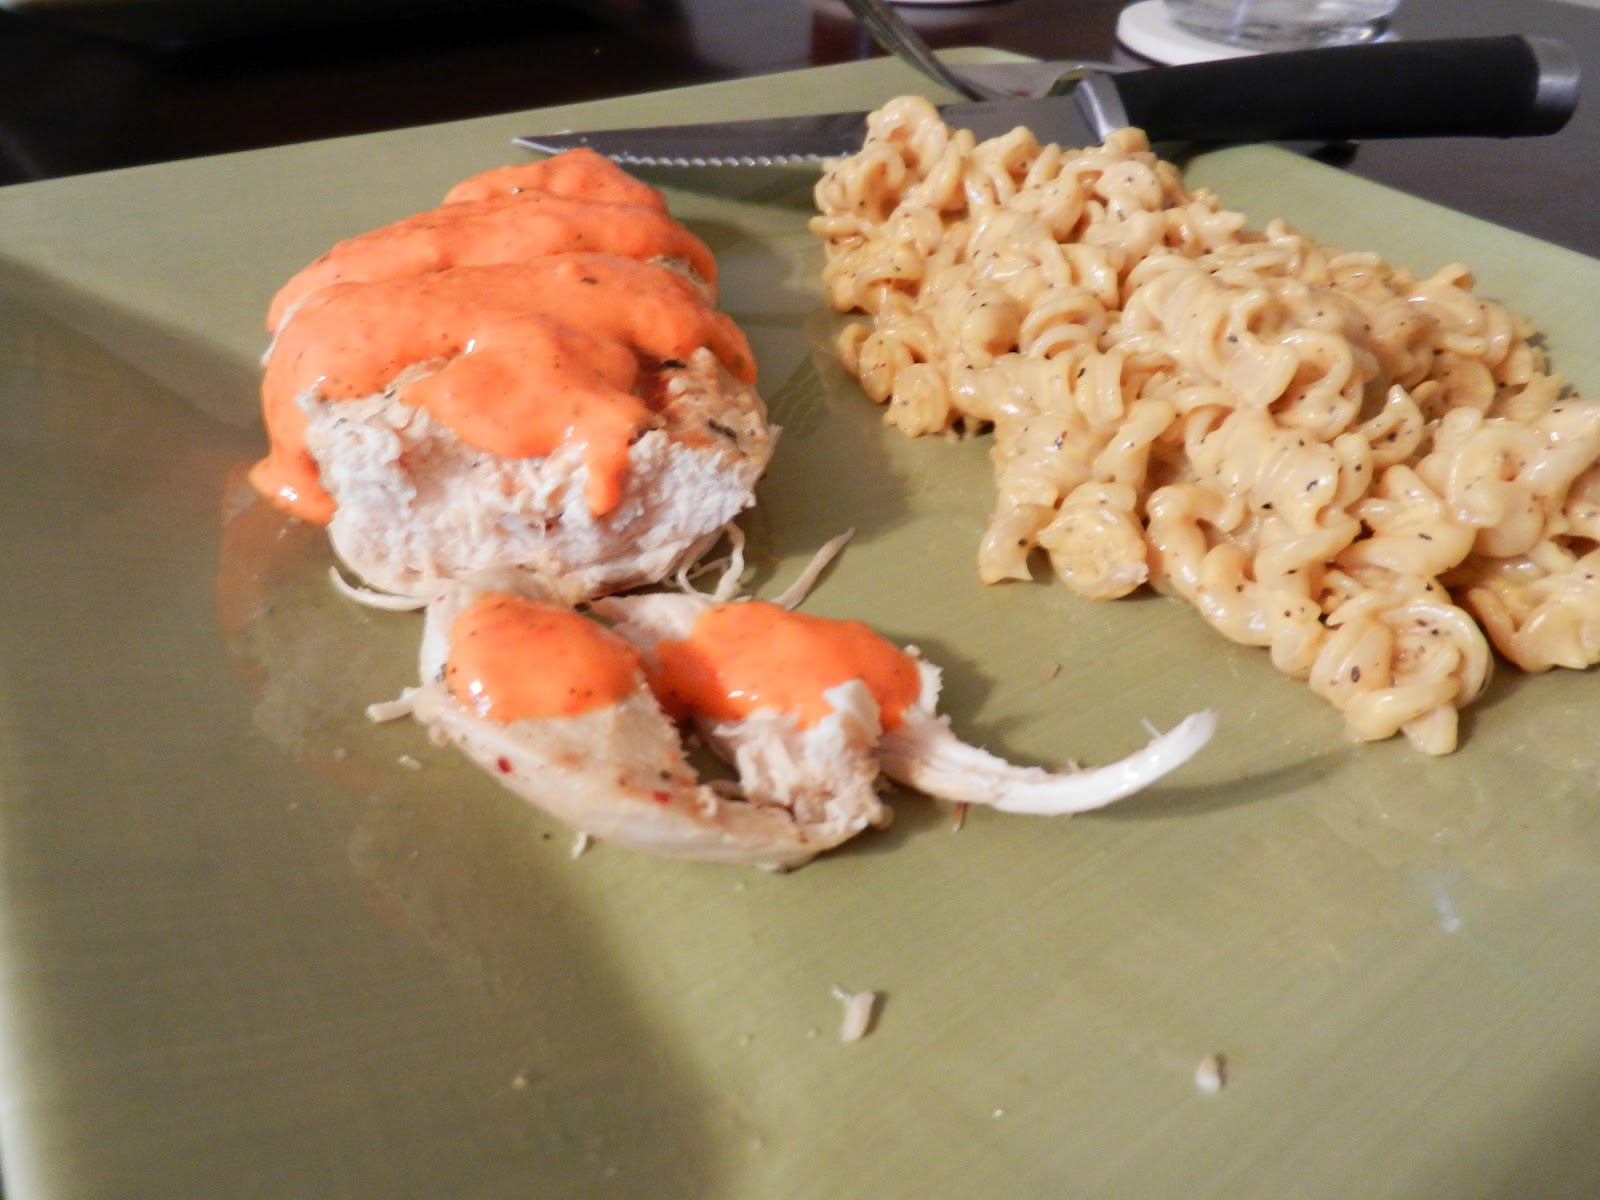
It will be a pretty bright orange color

I fixed our favorite mac n cheese with it and it was delicious.


Yum! Yum! Yum!


I would revise the sauce, maybe by adding some parmesan cheese or a packet of dried Zesty Italian seasoning mix....feel free to experiment. Enjoy!

Tuesday, March 6, 2012

New Craft Projects

Again, Pinterest is my source of inspiration. I can't take all the credit.

I have 2 new craft projects that went extremely well.....to be honest, it's not like they were super hard to make, but since I'm not the most crafty person and I have to (steal) borrow other people's ideas, these 2 projects were excellent for me.

The first one was needed in our home because I didn't have any way of keeping up with what I was making for dinner each night of the week. I guess I could just write it on paper but that's not very exciting. While browsing on Pinterest, I found a great idea on how to keep up with dinner for each night of the week and add a little color to my kitchen.

Project #1:
--picture frame
--scrapbook paper
--dry erase marker
--scissors


You will need to cut the scrapbook paper to fit inside the frame. I found that the easiest way of measuring the paper to fit is by taking out the sample picture that is included with the frame and use it as a model for what size the scrapbook paper needs to be.


Once you've cut the scrapbook paper to fit inside the frame, place it between the glass and the back of the frame, just like you would a picture.


Now, hold your breath, take a DRY ERASE MARKER  (((NOT A SHARPIE))) and write on the glass. At first I was scared. What happens if the marker stains the glass? Will I have to throw the whole frame away? Did I just spend money on a new frame for nothing?

But...I took the plunge and I wrote on the glass. Seconds...and I do mean seconds later....I quickly took a paper towel and wiped the marker off the glass and it was as good as new. Perfect! I now use it for all my menu making needs. Enjoy :)


~~~~~~~~~~~~~~~~~~~~~~~~~~~~~~~~~~~~~~~~

Matt and I have been married for almost 1 year &  8 months now and we've already experienced A LOT! So much in fact that sometimes we sit around talking about things that have happened, but we can't always remember. This project is perfect for our frequent memory lapses. It's called a memory jar. The purpose is to write down memorable events, whether happy or sad, as they happen and put them in the memory jar. At the end of the year, we're going to start a tradition where we sit down together and read all the memories as we reflect on the past year. I think this is a great idea and I'm super excited I found it and that I'm able to share it with you.


Project #2:
--2 different pieces of scrapbook paper
--candle jar
--scissors
--tape or glue


First, you will need to choose which piece of paper you want to be on the majority of the jar. Then you will need to cut that paper to fit inside the jar. Unfortunately, my jar wasn't even on the inside so I had to tape my paper to the outside of the jar.


**As a side....I left the empty plastic sack that once contained all my craft items on the floor. While I was making my little projects I heard a rustling behind me. This is what I found....

Kitten staring into the sack---what's in the sack?


A sweet, little Millie :)---isn't he adorable??


Okay! Back to the project....

You have just cut the paper to fit inside or outside the jar, whichever you prefer. Next, cut out a little rectangle of the 2nd piece of scrapbook paper to tape on top of the 1st piece of paper. Write whatever you would like on it. I wrote '2012 Memories'.


Once you have your smaller piece of paper with the writing on it, tape or glue it to the larger piece of paper. Since my bigger paper wouldn't fit inside my jar, I taped it to the outside.


All done! I use colorful pieces of construction paper to write my memories on but you can use whatever you would like or have handy. I probably should have posted this when I actually made it in January but, better late than never. Hope you enjoy!

Easy Peasy Dessert

Shame on me for not posting something new in over 4 months...tisk, tisk. But I'm back and I'm ready to go. Hooray with lots of new posts, ideas, and fun things to talk about. Let's get started....


First and foremost, can I just say, I LOVE Love love Pinterest. If you don't have an account, you NEED one!!! If you do have an account, feel free to follow me and share ideas together.


I got this dessert recipe from Pinterest. It has been tested on children and adults and both parties gave it a 2 thumbs up. Not only does everyone love it, but you will too because it's super easy to make. It literally calls for 3 ingredients and takes less than five minutes to prepare and about 10-12 minutes to cook. Perfect!

I don't have a name for it so feel free to make up your own....get creative :)

Here we go...


Ingredients:
--1 bag milk chocolate or semi-sweet chocolate chips (w/e you prefer)
--1 jar smooth peanut butter
--1 can of crescent rolls


Directions:
--Unroll the crescent roll dough and separate each roll from the other
--Spread a decent amount of peanut butter on each piece of dough
--Sprinkle a generous amount of chocolate chips on top of the peanut butter


--Roll up the crescent roll in the usual crescent roll shape
--Place finished rolls on a buttered baking sheet and bake them according to the directions on the can


See? Easy Peasy :)
I hope you enjoy!!